Today we are going to start on the nose, but first, in order to move around the carving so that you don't get too concentrated on any one thing, let's start making the slope from below the chin to the nose more gradual.
Just start shaving wood away from the whole front of the face from below the chin line up toward the nose.
When you are done, the profile should look something like this. I don't typically take this all the way to the nose, because the bottom of the mustache will stick out farther than where the upper lip joins the nose.
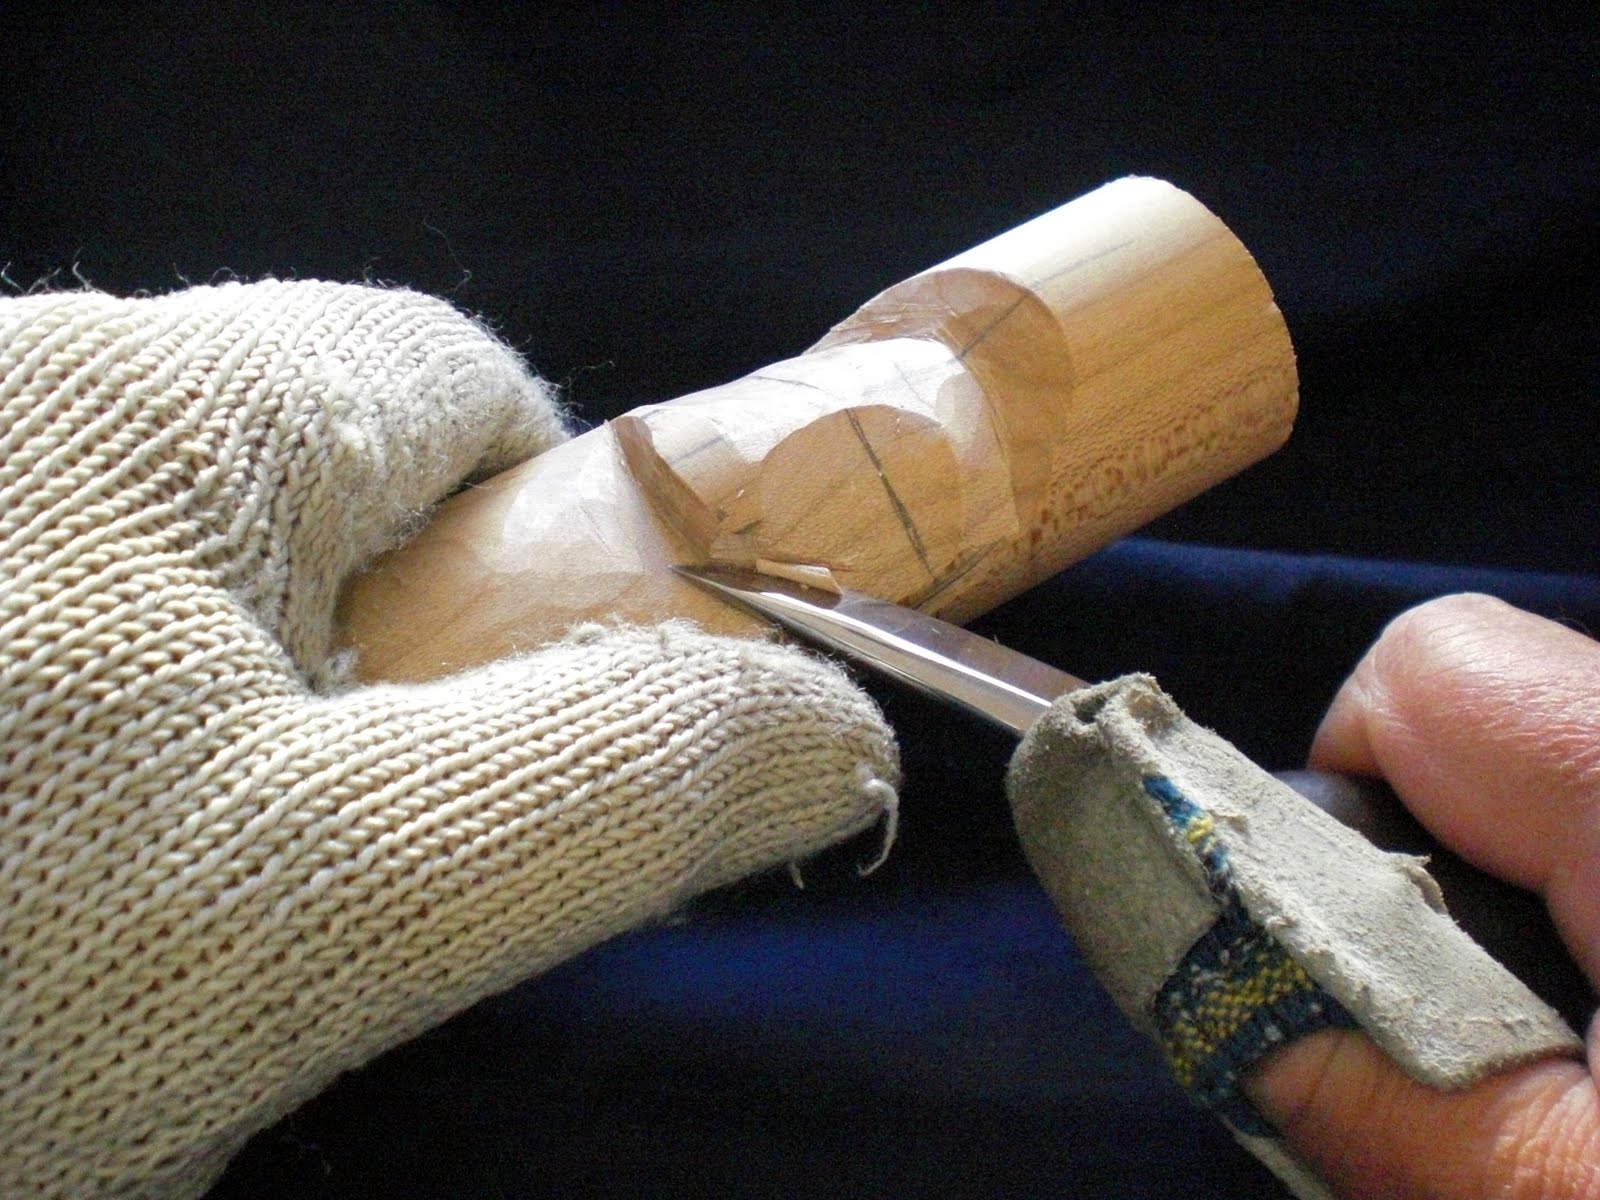
Now you want to determine the width of your carving's nose. Make it wider than you think it needs to be. You can always remove wood if you think it is too wide, but you can't put wood back if you get it too narrow. So make the first mark on one side of the center line. This will locate the outside of the nostril.
Using the same precision measuring method you used to locate your nose and mouth lines, measure the distance from the center line to the nostril line you just drew and transfer that measurement to the other side of the center line.
Now you have the limits of your nose marked out.
Now make a slightly slanted cut up from the nose center line to the outside of the nose. If you look in the mirror you will probably find that the outside of your nostrils are higher than the point at which the center of your nose meets your upper lip.
Your carving should look like this.
Do the same thing on the other side of the nose.
Next you want to make another cut, slanted upward at a greater angle, from the bottom of the nostril line.
You probably won't be able to cut all the way down to the bottom of the nose cut the first time, so don't be afraid to make multiple cuts.
Clean up the bottom of the cut before proceeding.
Make a third cut along the outside of the nostril, this time almost, but not quite, parallel to the center line. Once you repeat these cuts on the other side of the nose, your carving should look like this.
Nostrils have a top, so you'll want to make one more cut to delineate that.
It's time to start defining the shape of the bridge of the nose. Start the cut at the inside end of the top of the nostril and curve it up all the way to the eyebrows.
If you run your finger along the side of your nose from the top of the bridge down to your cheek, you will be able to feel that the side of your nose slopes out from the top. Make your cut with the blade of your knife sloped accordingly. In order to maintain good control of your blade you need to make several shallow cuts rather than one deep one. As you can see (look where the arrow is pointing) my knife slipped on the first cut and extended out over the eyebrow onto the forehead. A classic example of using too much force. I'm not worried about it, because the cut is shallow and will probably be carved out as the carving progresses. By the way, in case you didn't know, you can click on the photo and view it full size. Details are much clearer.

Make a slanted cut back down from the outside toward the nose cut. You are going to wind up with a "vee" cut here. The bottom of the "vee" should be only slightly above the level of the upper lip. Take your right index finger and put it on the high-point of your right cheek bone. This should be just under the outside corner of your eye. Now slide your finger in to the side of your nose and then back out to where you started. You should be able to feel that your face slopes from your cheek down toward your nose.
This is how the carving should look once you have done both sides of the nose. You can really see the cut I made when my knife slipped in this photo. You will make mistakes. Don't let it worry you. It's only a piece of wood!
Next time we'll start on the eyes. Eyes really worry beginning carvers, but they really aren't that difficult to do. You'll see!
So, until next time, let those chips fly!


Download over 16,000 WOODWORKING Plans at here
ReplyDeletehttps://cnnwood.weebly.com/
Woodworking guide offers anyone of any skill level the ability to build amazing projects. The guide is extra helpful because it offers more detailed explanations, videos and blueprints then your typical woodworker magazine.
Arbor Projects ,
Adirondack Chairs ,
Artwork Display ,
Bathroom Unit ,
Box Designs ,
Billiard/Pool Table ,
Barn Plans ,
Bed Plans ,
Bedside Cabinets ,
Bee Hive Plans ,
Bench Projects ,
Bird Feeders ,
Birdhouse Plans ,
Boat Plans ,
Book Case Plans ,
Baby Changing Table ,
Coat Rack ,
Cabin Plans ,
Cabinet Plans ,
Carport Plans ,
Cart Plans ,
Cat House Plans ,
CD/DVD Holder ,
Cellar Projects ,
Chair Plans ,
Chest Designs ,
Chicken Houses
Childrens Room Plans ,
Clock Plans ,
Coasters ,
Coffee Table Designs ,
Cold Frame Plans ,
Compost Bin ,
Computer Desk ,
Containers ,
Cradle Projects ,
Small Crafts ,
Cutting Board ,
Deck Plans ..